Basic Soldering Iron Information
The first thing I will stress when it comes to Soldering is to always use “Caution” and follow all “Safety” guidelines and precautions… Always! Even though soldering looks easy, it really isn’t. Anyone can solder, but not everyone can solder correctly. This basic soldering iron Info will get you started. If you don’t know how to solder correctly, you could get a “Cold” solder joint (which looks like a good connection, but it’s not), the solder can drip and cause a short, you can burn the wires inside the cable jacket, etc. Just like anything else, the more you do it, the more you practice – the better you will be at it…
The Soldering Iron
A good soldering iron will heat quickly, and at the right temperature. When dealing with audio connectors, a smaller tip is always best. You should always keep the “tip” of the iron clean (use a wet sponge to clean the hot tip of the soldering iron).
There are several types:
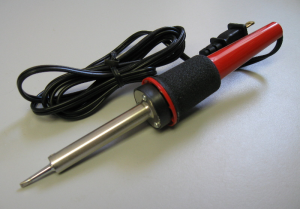
1. Regular – Plug and Heat (no temperature control). These are the most widely used in the field (mostly due to the fact that they are the least expensive). This iron has one temperature – very hot. You have to be careful with this type of iron not to overheat the connection or any wires associated with your connector (the wires can melt very easy with this type of iron).
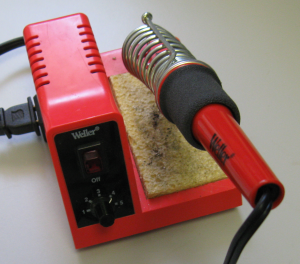
2. Soldering Stations (controlled temperatures). This type of iron is preferred when soldering audio related connectors. Why? It is temperature controlled, it has a sponge for cleaning, and a handy “holder” for the iron. Once you use this type of iron you will be able to understand the difference’s.
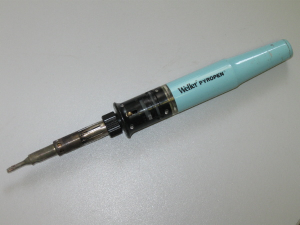
3. Butane Type – These are great for when you need to solder “in the field” and quickly! Sometimes you need to solder, and there is no AC power around. Well this iron is great for those types of situations. This iron does get real hot, but its temperature can be controlled somewhat. Keep a spare can of butane around so you don’t run out (and some matches or a lighter also). This soldering iron can run around $75 or more.
The Solder
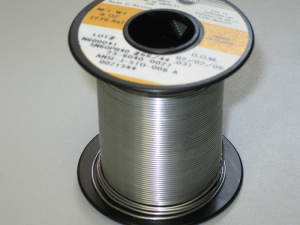
There are different sizes / types of solder that can be used. The reason for the different types / sizes is because they are made for specific purposes. For soldering audio connectors the preferred size solder would #60/40 with a diameter of .031 (tin-lead type solder is the most common for audio connectors). Any solder will basically do the job, but having the correct solder will get the job done right!
Soldering Tools / Accessories
There are several tools and accessories associated with soldering that can make soldering easier and more professional. It is highly suggested that you look into getting these items if you plan to do a lot of soldering. It will make a big difference.
 |
CHECK OUT OUR NEW “TECHNICAL” PUBLICATIONS NOW! |
 |
The Vice
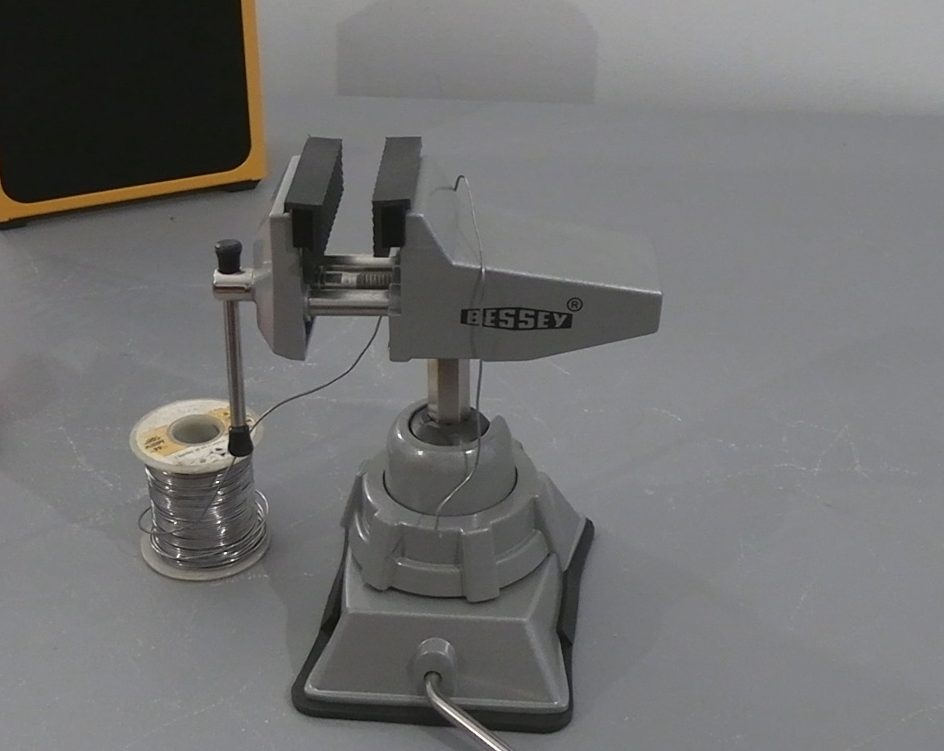
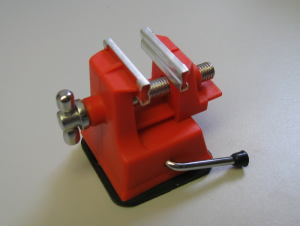
If you are planning on doing any type of soldering, you should use a small vice. There are several types, but they all achieve the same purpose – they give you a 2nd pair of hands to help you work with. If you are going to solder safely, a vice is mandatory. Once you use a vice, you will always want to have one around when you solder audio connectors.
A couple table top examples…
The Fan
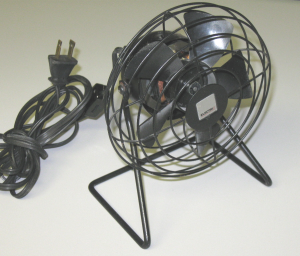
If you are planning on doing any type of soldering, you should also use a small fan. Solder fumes contain “lead” and you want to keep the fumes away from your face. This is just a safety precaution to keep from breathing in the fumes from the solder.
Safety Glasses
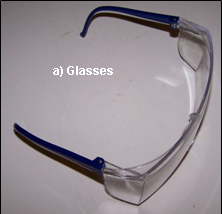
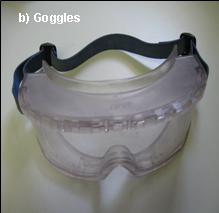
If you are planning on soldering – you must get a pair of safety glasses! Solder is very unpredictable, melted solder can splatter easily (mostly get “flicked” by the technician doing the soldering). Having hot solder get flicked up in your eyes (or near your eyes) can be damaging. Some technicians do not wear their safety glasses because they can be uncomfortable, but this is just an excuse. If you purchase safety “glasses” (a) they are fairly comfortable, if you use safety “goggles” (b) they are usually more uncomfortable than safety glasses. The bottom line is that you need to wear safety glasses every time you solder – period!
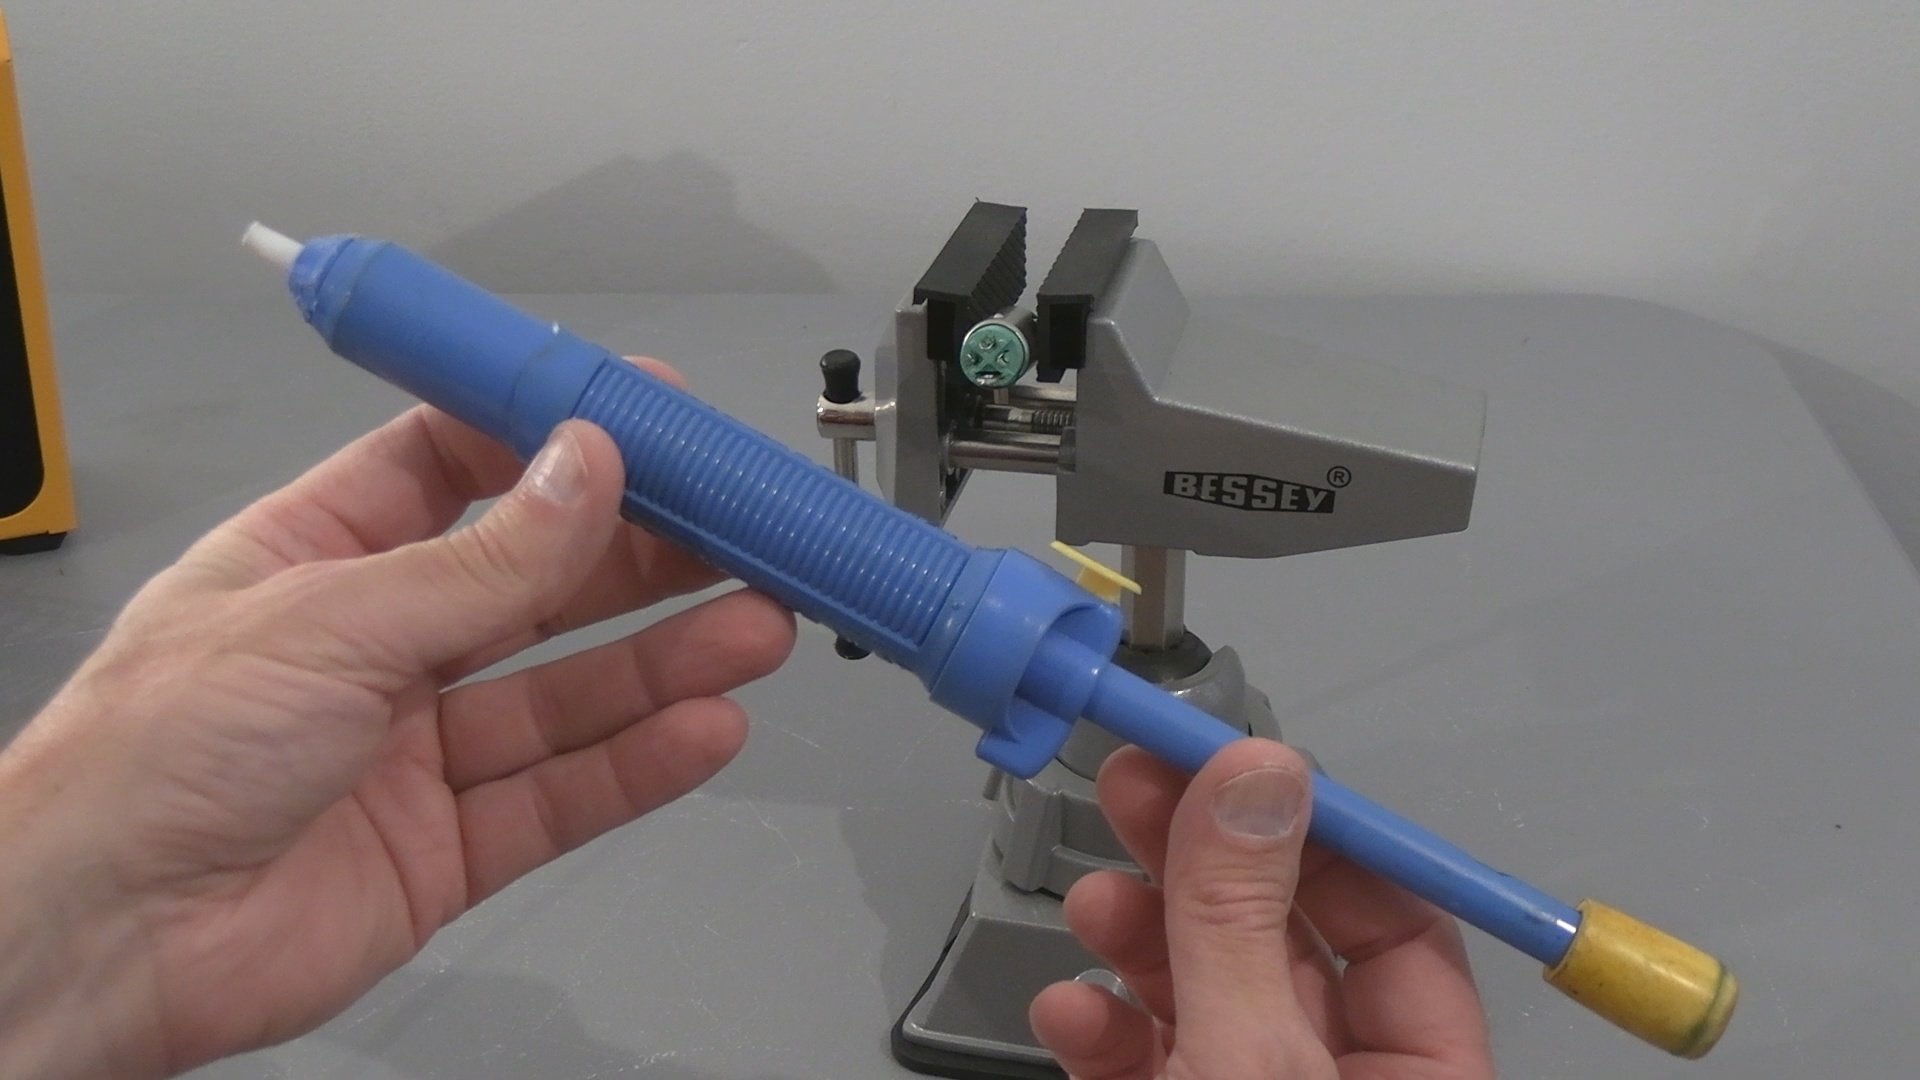
The “Solder Sucker”
If you need a tool that will help you remove solder quickly from a connection – this is the tool you are looking for. There are expensive ones, and cheap ones (they both pretty much do the same thing). Very handy device if you need to remove solder quickly and safely.
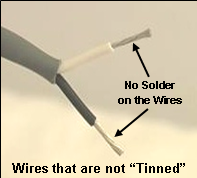
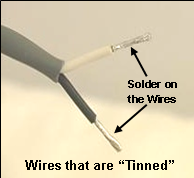
Tinning the wires – What is Tinning?
Tinning is basically adding solder to a wire or connector to prepare it for soldering. Check out the Video Clip Here! A wire is usually tinned to keep all the strands together, and a connector lead is tinned to allow the wire to better solder to it. Tinning is a procedure in soldering that helps prepare a wire and / or connection for final soldering. Tinning makes for a smoother soldering procedure, but most of all – a better solder connection.
Conclusion
Basic Soldering Iron Information – If you are a beginner, it would be very beneficial to get out a piece of cable and practice stripping, soldering, and “tinning” wires. This will ensure that you will have minimal mistakes when you are ready to solder real connectors / connections. Good Luck!

